Skip to content

Category: Console

Console

Bildschirmtext (BTX)

Being a kid from the 80ies, i never came around using the german Bildschirmtext service. Luckily I found a recent implementation of the BTX protocol with some pages from the late 80ies and early 90ies.

Run the BTX server

brew install socat
git clone https://github.com/bildschirmtext/bildschirmtext
cd bildschirmtext
python3 -m virtualenv env
source env/bin/activate
pip install -r requirements.txt
cd server
socat TCP-LISTEN:20000,reuseaddr,fork 'exec:python neu-ulm.py'

Compile and run the client

brew install sdl2
git clone https://github.com/optixx/btx_decoder
cd btx_decoder/sdl
make
./btx_sdl 127.0.0.1:20000

Usage

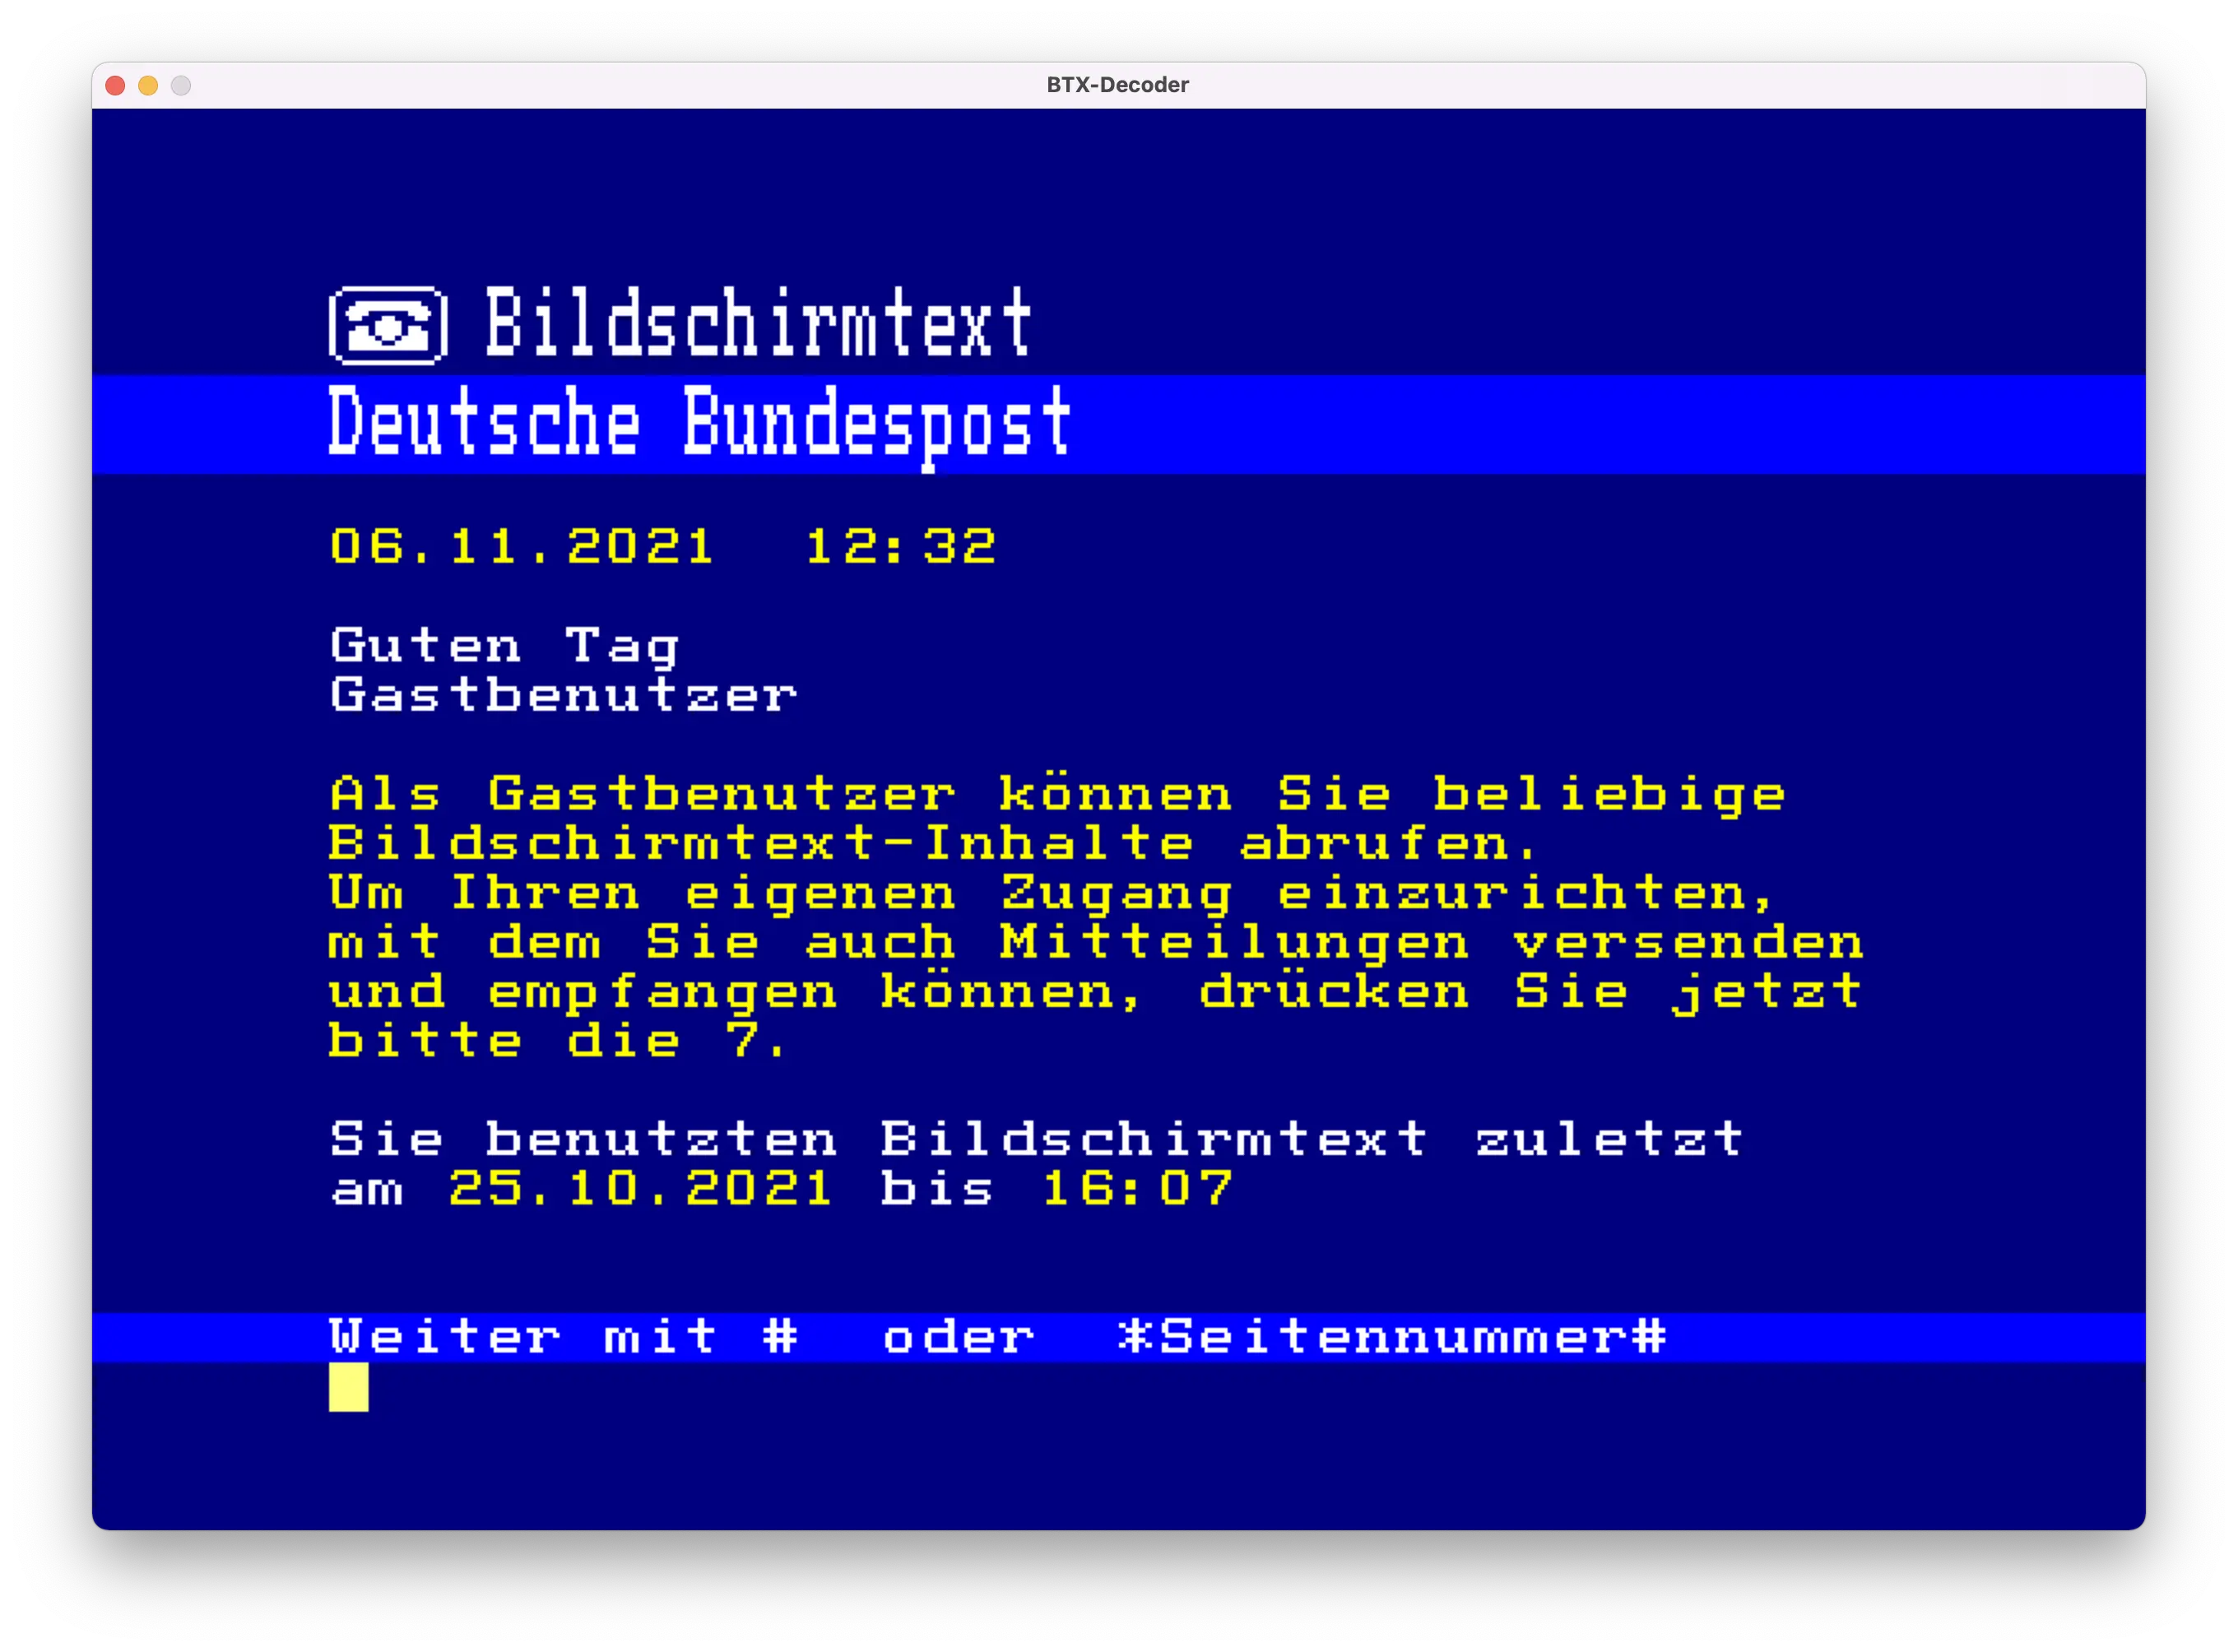
The guest user (user 0, co-user 1) has an empty password, so you can log in as a guest by pressing “#” 3x at startup (or DCT once). You can define your own users by creating files in users/ and secrets/.

*00#: Retransmit page (in case of transmission errors)
*09#: create page again (or reload from database)
*#: return to the previous page
*page number#: navigation to a specific page
[0-9] and #: navigation to a following page
**: deletes the input
*9#: logs off the user
Comments closed

Amiga style PSP Demo

I have been working on a Amiga style PSP demo using some traditional Amiga OCS influenced demo effects. It started with porting the FC player to the PSP, later i added the sine scroller effect and logo swing.

Usage

  1. Install docker image with psp toolchain
  2. Create pspdev-docker.sh script into your path
  3. Compile
pspdev-docker.sh make clean all 
  1. Run elf in the emulator
/Applications/PPSSPPSDL.app/Contents/MacOS/PPSSPPSDL sine-deme.elf
Links
Comments closed

A modern toolchain for Vectrex development

Recently i read an article about the Vectrex game console. I kew the system a bit, also played it when it came out in the early 80s at a friends house. But i never really hat a connection to the system, like i have for the SNES or the Amiga computer.

Since writing an emulator is on my programming bucketlist, i recenlty took a look at simple platforms that i could start to write an emulator for. I looked into stuff like Chip8 and the GameBoy that seemed easy to emulate, in comparison to a PS1 or N64.

So the Vectrex got interested. I started reading its specification. It all seemed straigth forward to me. The Vectrex uses a Motorola 6809 CPU, which is not a super common 8bit CPU, but was used in the Dragon home computers. Otherwise there is an AY-3-8912 for the sound and 1KB RAM and 8KB ROM.

To get started i took a look into homebrew scene, to figure out getting own code runing on the machine. As usual for systems from that time it was mainly programmed using machine code. Which i kind of like, but also implicates a higher learning curve. There is typically no middleware or frameworks that helps you with anyhting, so you have to learn all the HW registers and figure out how to stuff.

So i was surpised to find a of modern c toolchain with some libc and bios support. I ended up following the instructions for a modern c based toolchain.

The toolchain basically consists of a c compiler, assmbler & linker and a emulator. It also came with and SDL based Emulator, but it would not run on current MacOS because of the unmaintained/bugfixed SDL library. So i decided to port the the emulator to SDL2, which was fun learning the render contexts of SDL2.

So thats what iam using

  • CMOC – The C compiler
  • LWTOOLS – Assembler and linker for the 6809
  • VecX – Vectrex emulator

I started off modifying the c examples that came from Johan who ported the CMOC compiler suite to the Vectrex system.

This is what i came with, you can find the code in my sample repo.

VecX Emulator

Comments closed

The PCB is coming down

Got an mail from pcb-pool.de, our PCB is nearly done and will arrive this week. So the first prototype will be assembled over the weekend. Keep fingers crossed that everything is working as planed.

Quick Featuers list

  • ATMega 644
  • Software USB
  • FTDI USB Debug port
  • 4MB SRAM
  • LO/HI Rom Switch
  • SD Card Daughter Board
  • AVR Cart IRQ Trigger
  • AVR WR sniffer

Things not happping with this version

  • Save Game support by design
  • DSP Support
Comments closed

SNESRAM Proof of Concept is working

We have been working the last 4 Weekends on a cool side project – we built a DIY Super Nintendo development hardware. As a SNES Programmer or SNES Nerd you always want to run your code on the orignal hardware. But this is only possible using old backup stations from the 90ies like the Super Wild Card or Game Doctor. But all these tools lack cool features like SD Card support, USB connection or real time debugging. I own an old Super Wild Card and its a pain in the ass. I can’t get the parallel port connection working and so i have to use the builtin floppy drive 🙂 There are newer projects around, but either not working or not really cool.

So we decided to build our own hardware. Today we got our proof of concept working. Its based on a STK500 setup using a ATmega16 (Ja.. I fried the ATmega32 while setting the fuses..). Attached is a SD Card and a home cooked memory bus driver for one 512k SRAM Chip.
Both the ATmega and the SNES memorybus are connected to this SRAM via busdrivers. The ATmega does the housekeeping and manages the access to the RAM. To save IOpins on the ATmega side, we use shiftregisters and counter to set the adress. On the SNES side its connected to a Snes Multi Cartridge Adapter. One slot holds an orginal game, so we can use the lockout chip from there and solder the data and address from the other slot to our memory interface.

Now we are able to upload a 2Mbit SNES rom. A mario sprite on flashing background. We load this rom image from the SD Card and write it to the attached SRAM. When this is done we switch the busdriver and connect it to the SNES memory bus. Today we got the demo working.
See the video and pics.

We did like 3 other proof of conecpts before to get this working.

[flash]http://www.vimeo.com/4011976[/flash]
Watch the Video on vimeo to get HD and see the console output

Right now we are planing the features for version 0.1. Its mainly to get a good hardware design
the cool software features are planed for version 0.2

  • ATmega 644
  • 4mb SRAM
  • Address Counter
  • Address SREG
  • Busdriver
  • LO/HI Rom support
  • Lockout Chip
  • Save game SRAM
  • SD Card Support
  • Software USB
  • USB Upload Client
  • Software Mode Switch
  • Remote Reset

The Project is hosted at Assembla.com

And the poc code is here
and here

git://git.assembla.com/snesram.git
4 Comments